I just watched this video from Bob at CheapRVLiving.com & Enigmatic Nomadics, and it reminded me of my little cooler that I sometimes use. In the video linked to above, the guy uses 1/2-inch rigid foam insulation from Home Depot. He cut sheets of that stuff to size and put the pieces (along with some spray foam) inside of a plastic bin, and that was his cooler.
I did something similar but different.
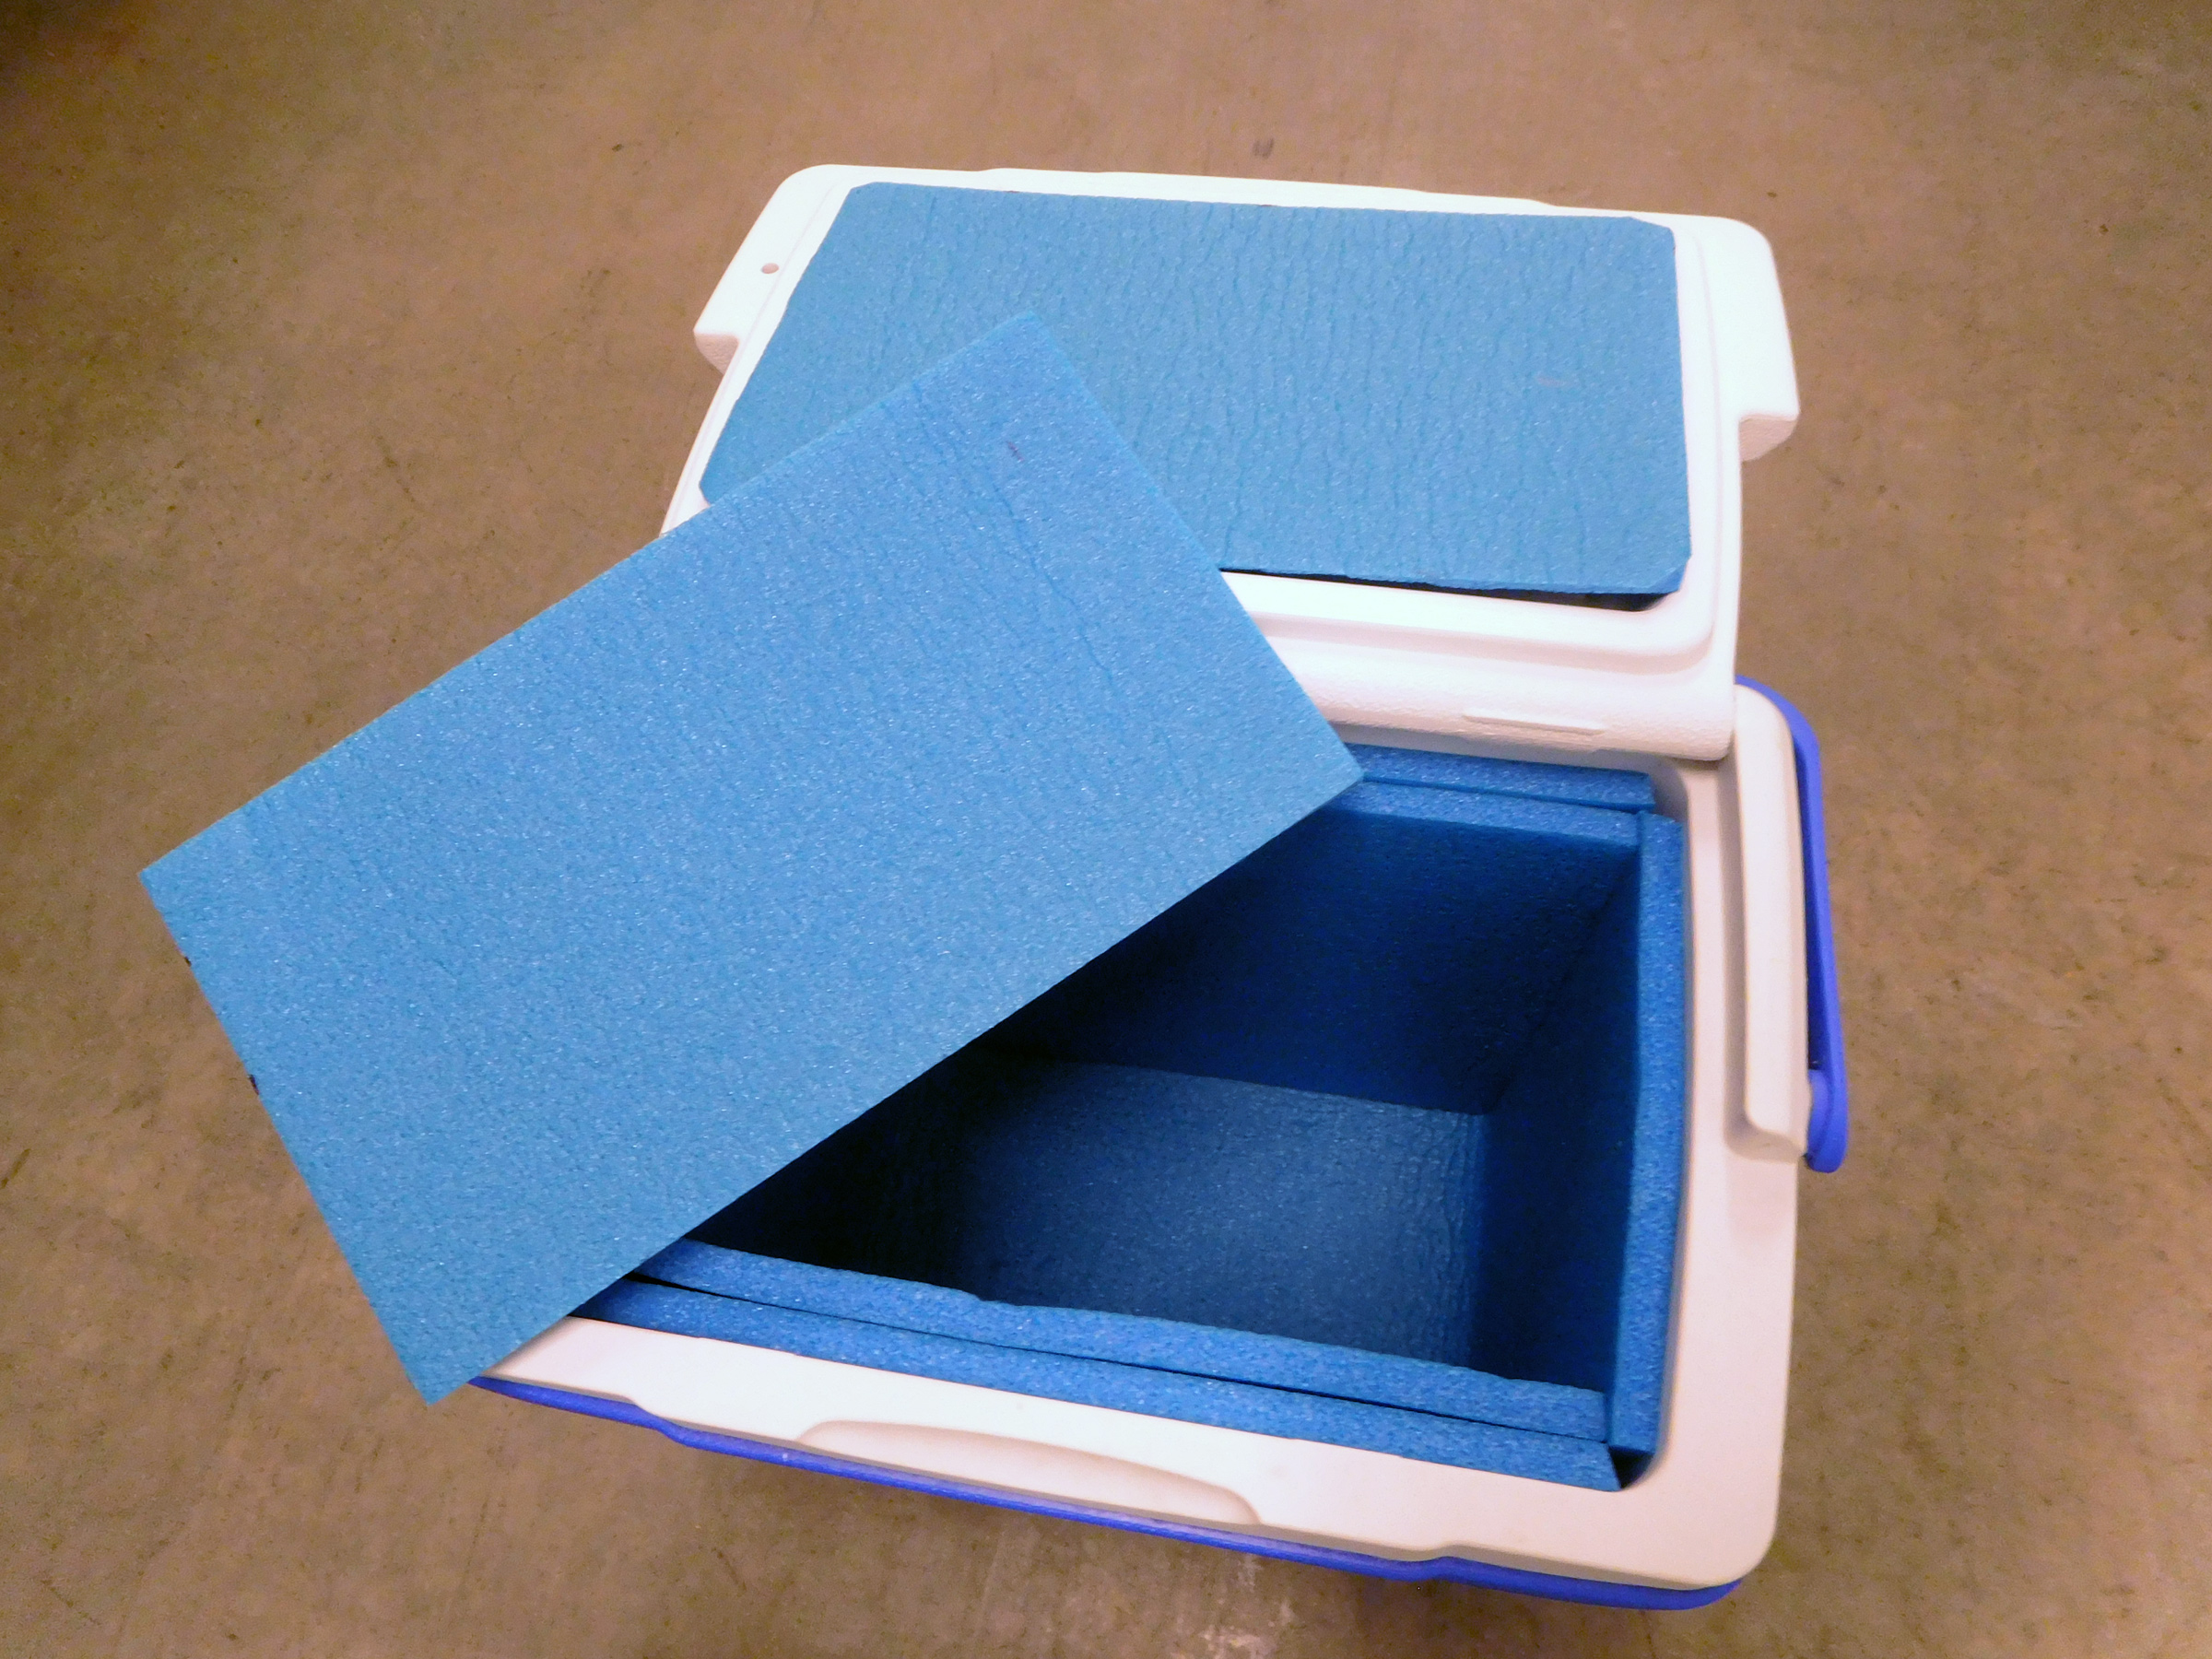
I started out with a small cooler and then cut up pieces of a blue foam sleeping pad and lined the inside of the cooler with the pieces. I put the pieces on the sides, the bottom, and the inside of the lid, and I left a couple more pieces that I could put on top on the inside. The blue foam sleeping pad I use has an R value of only 1.4, whereas the rigid insulation has an R value of 6. (R-value is a measure of how well a material insulates; the higher, the better.) So the sheets of rigid home insulation would have been better, but the blue sleeping pad is what I had and is better than nothing. I can’t put an exact number on just how much of a difference this extra insulation has made, but it definitely has helped the ice last longer in the cooler.
If I’m going for a short (2–3-day) trip, I freeze water bottles and stack them at the bottom of the cooler in place of ice cubes. Then I don’t have to worry about emptying the meltwater from the cooler.
Whether you want to build a cooler from scratch like the guy in the video or beef up an existing cooler like I did, this method of cutting up insulation into pieces is a great way to go for SUV RVers, vandwellers, and campers.